A site for my handmade cards, accompanied by my photos and written meanderings which are occasionally witty, often tongue-in-cheek, and rarely profound. Beginning in June 2013, you'll also see lots of NBUS, which is an acronym I coined for Never-Before-Used-Schtuff. Note: my Privacy Policy can be found at a tab below and you can find my NBUS Challenge online. I hope you'll join in the fun there! Thanks for coming by! Have a beverage and enjoy!

Showing posts with label The Male Room. Show all posts

January 14, 2023

Oh My Starry Stars!

Hello Stamplings!

I hope you are dry and warm where you are! Sometimes I like to think of you snuggled on the couch with your laptop in your, um, lap! Or at your desk, or sitting in the car waiting to pick up the kids from school, or at the kitchen counter. Because my posts are bosumulous, I imagine you with a libation and a snack-a-doodle-do.

Onefer

(Still raining/cloudy here so my photos aren't as bright as usual.)
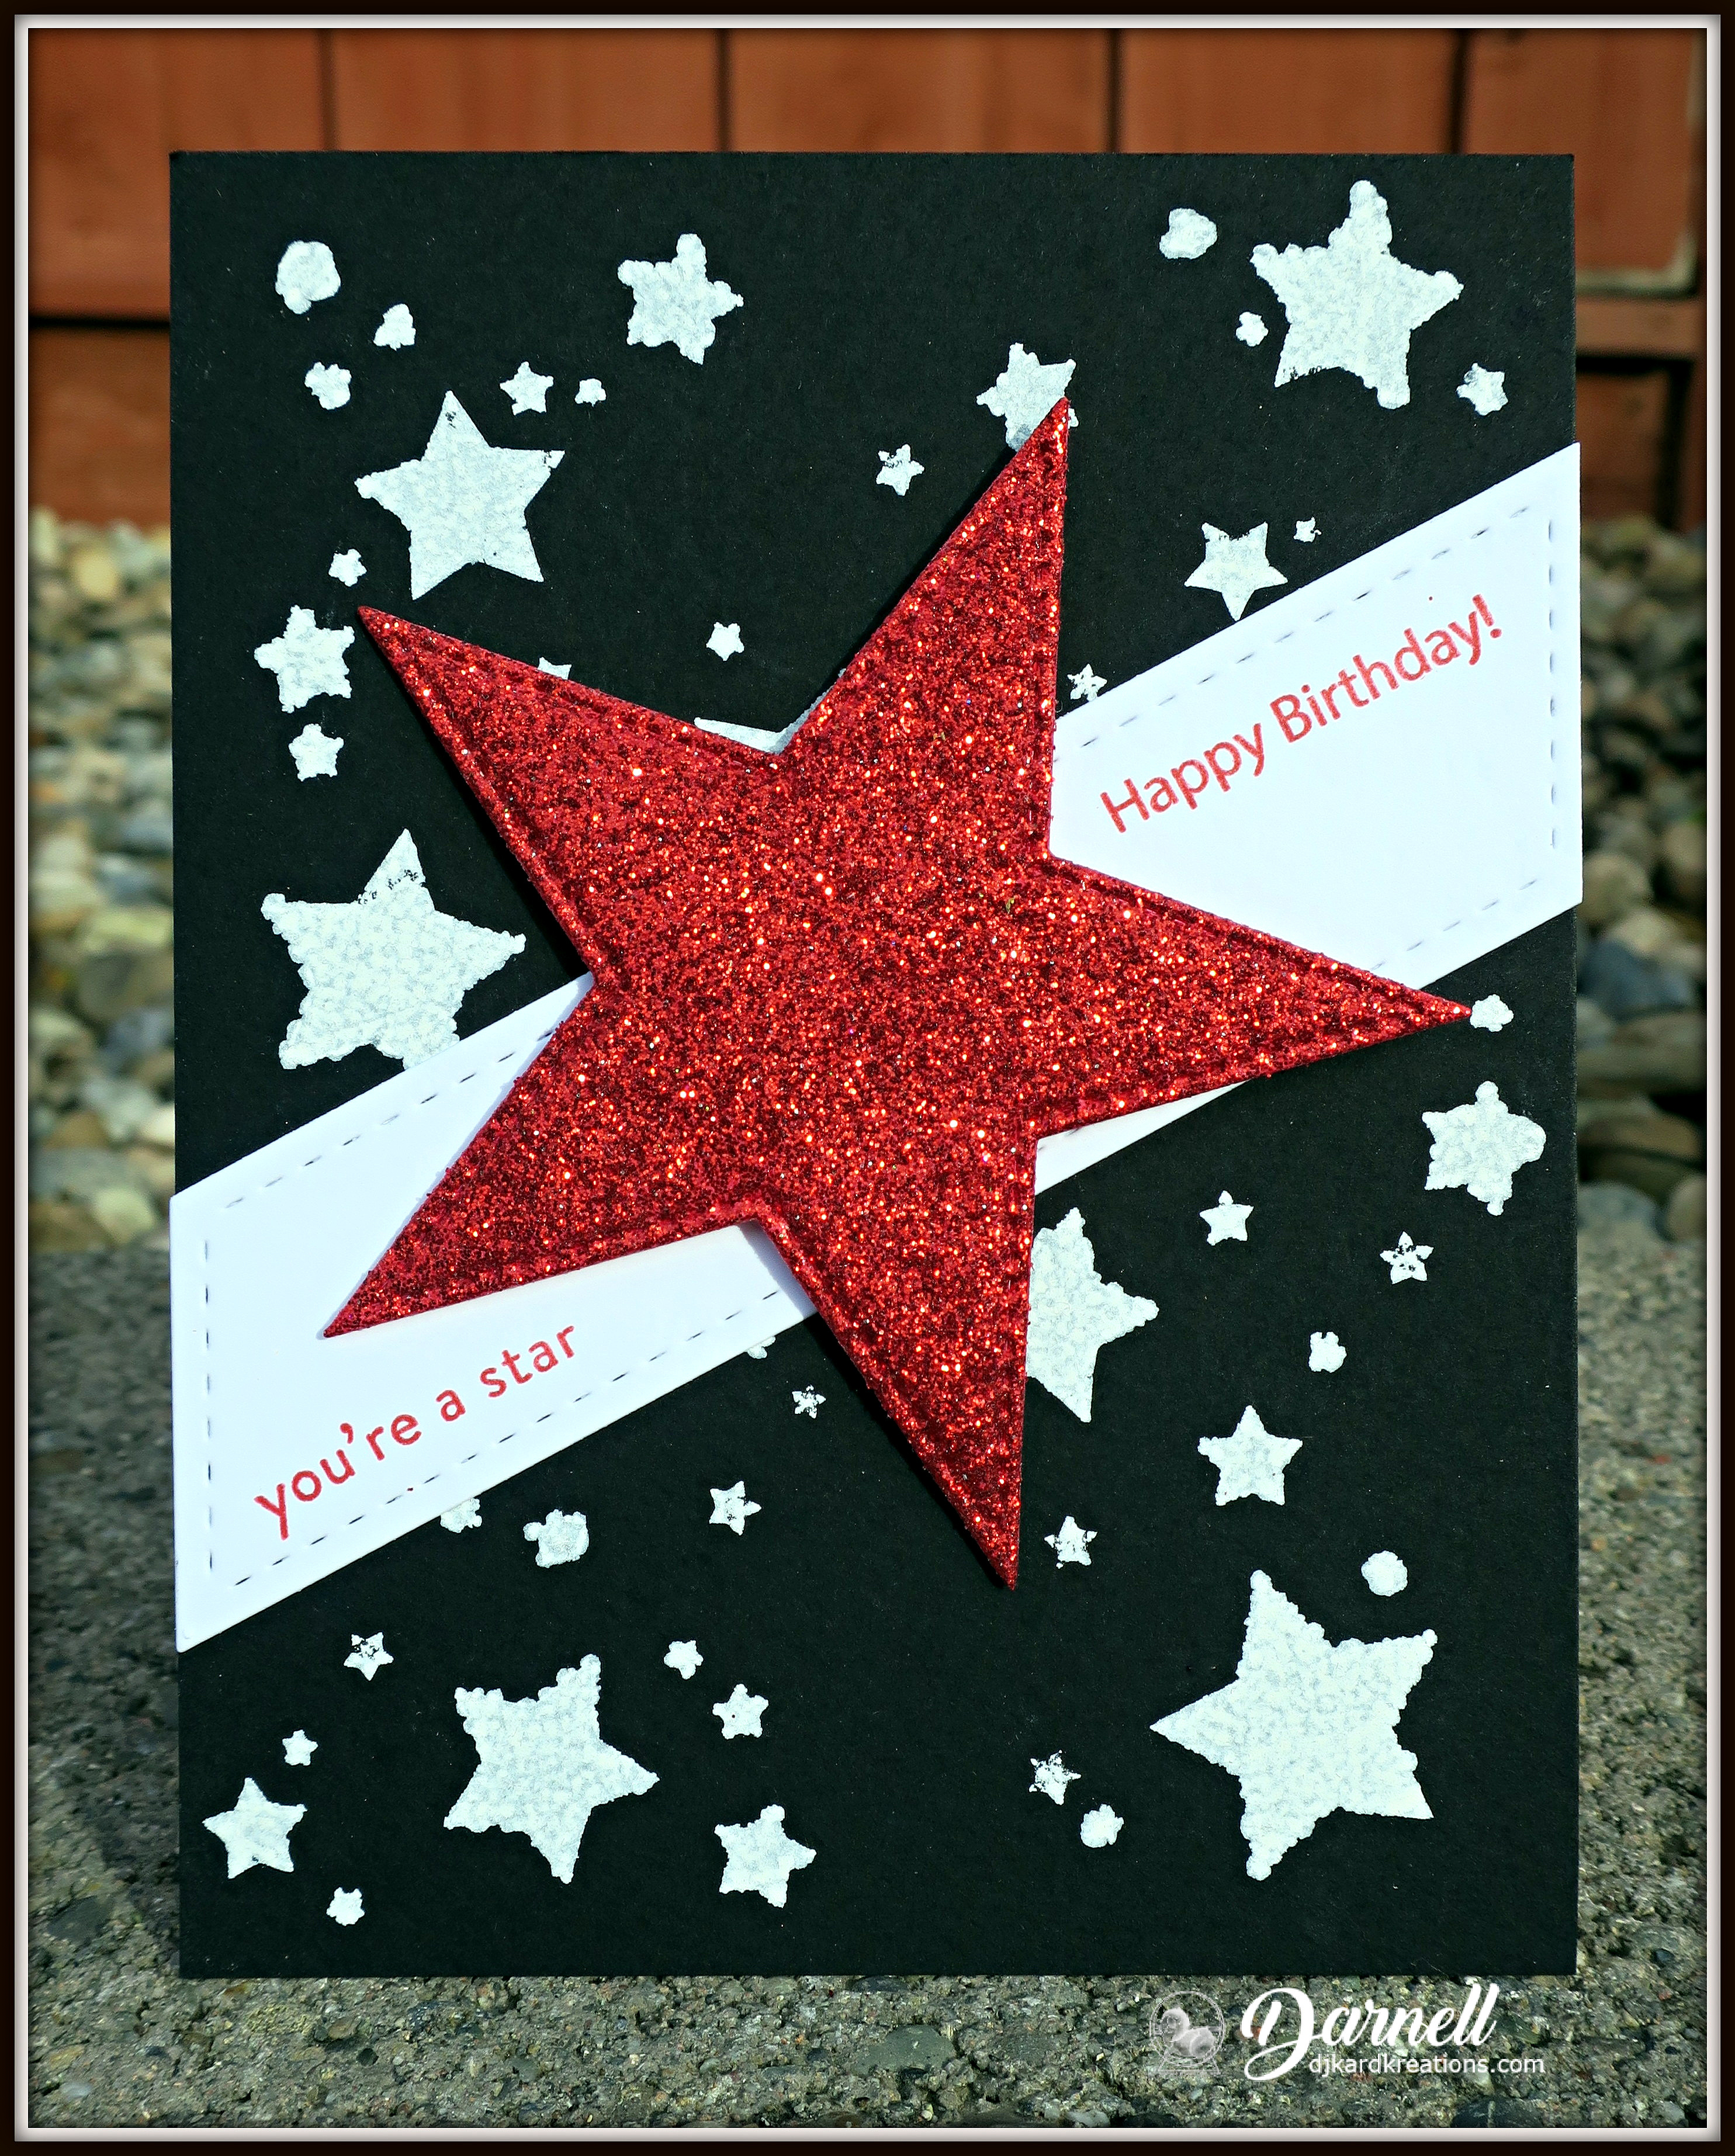
I used an unmarked starry stencil for this card and I pounced my white ink pad all over it, pushing the ink through the stars and onto a black base. 
I had a new juicy pad and it was fairly successful. Some stars ended up as dots, but Hammy says to tell you they are baby stars that haven't opened yet. Cool. I used my Lil Inkers Diagonal die as a star and sediment banner. The stitched star cut from glittery red paper is from MFT. Even though there is a glittery star, I'm thinking this design could be sent to any age or gender.

And now to my inspiration. I noticed that Shopping Our Stash has a fun challenge with the brief, "Pyjama Day!" I just had to play along because I treated myself to these black and starry new pjs just before Christmas:
I'm also linking to:


Twofer

As you can imagine, after I did the above pouncing, my stencil was pretty inky so when I picked it up, I immediately laid it on another piece of black card and pressed it down. When I lifted it off, I was left with this negative stencil image:
Being a good resolutionist, I turned it into a Christmas card for my second design:
I added a snowy hill for these old polar bears to play on, but I forgot to add schparkle to the hilltop because my little helper was napping.🐹

These old gals have been patiently residing in my Christmas Bits Binder for a very long time. They look like they are in a bit of shock to be out, don't they? It's my fault. Because they were in the dark for a very long time, I intended to put googly eyes on them to protect them. Of course I forgot, so now they are suffering from snow blindness. I'm told their eyes will gradually adjust to the brightness, but that walking bear is going to bump straight into that sediment and the red ink is gonna leave a stain. Oops.

Challenges

~~~

Enjoy your day! No, seriously, enjoy! LITS!*

As always, thank you for coming by to visit the Playhousebeing a follower, and leaving me some love! (So where is your favorite place to perch when you go visit your interweb friends?)
*Life is too short!

To open the pop-up comment box that let's you jump to the end w/o scrollingClick CTL + Home. Click the Home tab under my blog banner which resets the post. Click Page Down to reach the end of the post. Click Comments and a pop-up box opens. Click "Jump to Comment Form" and wallah, no more car pool tunnel! Mwah! (p.s. If you ask me a question in your comment, please remember to leave me your email address so I can respond. Thank you!)

November 10, 2021

Gnome at Last, etc.

Hello Stamplings!

How are you on this bright and shiny new day? Now that dark winter is approaching, I'm going to try and be less down in the dumps about everything going on in the world. I like being a bit contrary. Some might call it delusional. Join me?

Some challenges are close to ending, so this is a long post. I thought I would start by finally using one of my NBUS gnomes before the trend hits the road. Although, who knows? Maybe this trend will stick around because how can you not smile when you see one of these fun ganomes (as I like to call them)?

I've had this gal for a while and she is as tickled to finally be painted as I was to paint her!
This image and sediment are from a set of the same name from Trinity Stamps. I'm sorry you can't see the shading of my coloring because, you know, I work hard on that, but then I go to upload my photo and the white card looks like dirty gray and so then I brighten the white and it does away with all that nuanced shading. Dratafrat. Good thing we all have imaginariums.

I'm giving this ganome the name Galoria. She was heat-embossed in platinum, so I also used platinum for the sediment and a gold pen to make the eLipsis. Hammy happily winked every bit and biscuit.

I don't usually decorate the insides of my card except with my handwritten notes, but if you have an opening eLipsis, then you must close it ...
I didn't realize until after I'd uploaded the photo that Galoria's brother Garant had swooped in for a photo bomb! I'm telling you, these little guys are ganaughty!

Challenges
Twofer
Speaking of hard to photograph, this WOW (white-on-white) number was a devil in its own right because the front card panel was embossed using white glossy paper! This NBUS e/f was borrowed from a friend and I didn't make a note of who makes it. The sediment is from Cottage Cutz. QACAS!

Challenges
  • ABC Christmas: W and X. (W is for Whimsical.)
  • Less Is More: Lucky Dip Week: Winter White. LIM is looking for a new administrator for this wonderful challenge. Please let them know if you are interested so they don't have to close down.
Threefer

Speaking of QACAS:
You take a piece of metallic gold paper and you run it through your die-cutting machine using a 3D e/f from Sizzix (665254). Attach that to a card base and add a die-cut sediment of your choosing. I chose Be Merry from GKW, cut from red metallic paper. You can make a lot of beautiful Christmas cards in no time using the recipe for this card and the one above!

Challenges
Fourfer
I thought maybe I should post a few of my Thanksgiving cards at some point before I mail them off. Today I'll just add this one. These leaves are from the Seasonal Borders set by Concord & 9th. 

I tried doing a direct-to-paper inking. Honestly, it was very blah, so I put it in the recycle basket. Then - no surprise - Hammy to the rescue! He pulled it out, put on his little roller skates with the black ink cartridges, and skated around the leaves and down the veins. What a difference that made! I added a scoreline, a fall plaid mat, and a bit of bling before stamping the sediment with my Kaleidoscope ink pad.

Challenges

~~~


Enjoy your day! No, seriously, enjoy, and be safe! LITS!*

As always, thank you for coming by to visit the Playhouse and special thanks to you if you take the time to join as a follower! Please let me know you came by so I can be sure and return the flavor!

*Life is too short!

To open the pop-up comment box that let's you jump to the end w/o scrollingClick CTL + Home. Click the Home tab under my blog banner which resets the post. Click Page Down to reach the end of the post. Click Comments and a pop-up box opens. Click "Jump to Comment Form" and wallah, no more car pool tunnel! Mwah! (p.s. If you ask me a question in your comment, please remember to leave me your email address so I can respond. Thank you!)

October 29, 2021

It's Trifecta Holiday Time!

Hello Stamplings!

I hope you have been doing well wherever you are and whatever seasonal change you are experiencing. Our hemisphere has been having xtreme weather again. We actually got over three inches of rain, unseasonably early for us, but we badly need it. Others, sadly, had wind and flood damage and my heart goes out to them.

Here in America, we are heading into the Trifecta of Holidays. First up is Halloween this weekend, followed four little weeks later by Thanksgiving, followed four little weeks later by Christmas. Followed by my usual 13.5 pound weight gain. It would be so much easier if these holidays weren't all within such a short time, but I wasn't home the day they called for my opinion on the matter.😄

For this post, I only feature two of the holidays, starting with two Christmas cards:
Are these NBUS critters from the MFT Picture Perfect set guinea pigs or hamsters? Not sure, but no matter, they are darlin' either way, so Hammy and I are declaring they are one of each! I chose the frame and coloring to play in the Color Hues kraft and red challenge, only to just discover that it ended this morning. Oops, I guess I need my head eyes examined.

Besides the sediment declaring this a Christmas design, I tried to change the sunflower seed into an ornament. Now, I'm thinking it looks more like a flask, but, hey, that's festive, too right? Maybe they had a long day planned dropping off Christmas gifts to all the relatives (hamsters and guinea pigs tend to have a LOT of relatives!) and it was cold and they needed a little nip of brandy now and then to sustainsiatate them.

Challenges
Twofer
This card is art and function. Whoever gets it in the mail this holiday can always use it to light the way if the electricity goes off! I chose this pretty snowflake frame from GKW to paper-piece in metallic gold and blue to join in the October Rudolph Days Challenge. Mo is dedicating this month's challenge to Kath of Plain and Simple, who passed away a few months ago. Kath was a well-known friend to many of us and she loved paper-piecing. I love it, too. It's fiddly, but so satisfying. I finished it with a simple vellum sediment from Penny Black.

Challenges
Happy Halloween!
I don't make a lot of Halloween cards and this silly card is my fav this year, even though it happened by accident. What happened was, I made a few cards using the ghosts from poppystamps Groups of Ghosts. I pushed out their eyeballs and tossed them off to the side because the ghosts are intended to be sheets with empty eye-holes cut out. 

Well, I happened to push them onto a piece of discarded black card and, thankfully, Hammy looked up just then from sewing his pirate costume and he noticed how cute the eyeballs looked all by themselves on the black paper! I added a white-inked sediment and I used a NBUS embossing folder for a little texture. (It's hard to see, but it is a large conversation bubble.) 

Challenges
~~~ 

Enjoy your day! No, seriously, enjoy! LITS!*

As always, thank you for coming by to visit the Playhouse and special thanks to you if you take the time to join as a follower! 

Thank you, too, for your continued patience and all your kind emails. I'm making lots of progress on the To Dew list, making Christmas cards, and I've had a confirmed diagnosis on the hip. Just awaiting word now on a date for surgery, which won't be for some months because everything is lackbogged. Same as everywhere, so can't complain!

*Life is too short!

To open the pop-up comment box that let's you jump to the end w/o scrollingClick CTL + Home. Click the Home tab under my blog banner which resets the post. Click Page Down to reach the end of the post. Click Comments and a pop-up box opens. Click "Jump to Comment Form" and wallah, no more car pool tunnel! Mwah! (p.s. If you ask me a question in your comment, please remember to leave me your email address so I can respond. Thank you!)

August 26, 2021

Bumps, Dots, and Flakes

Hello Stamplings!

I hope you are doing well. You know, under the circumstances. I know it goes without saying, but I'm gonna say it often anyway: thank goodness for this hobby as a feel-good distraction because making and sending a handmade card to someone is a guaranteed way to make two people smile.

Or maybe three. I've got a Threefer for you today, so here we go.

Onefer
At a recent Zoom craft session, we used 3D embossing folders with metallic paper and then we sanded the raised bits. In this case, the bumpy bits. This cool Cobblestone e/f is NBUS from Sizzix. The scalloped cover frame is from Reverse Confetti. The geezer tourist ("Golden Oldies") is NBUS from Art Impressions. The artist of these AI oldster stamps sure knows how to draw geezers and I love the little details like the title of the magazine and the smiley face button on his baseball cap!

The sediment, which is heat-embossed in copper, is from Rubber Dance Stamps. I decided not to color the dude so as not to compete with all that beautiful copper. 

You'll be seeing more examples of my play with my 3D folders and metallic paper as I make my panels into cards. Bonnie is right: it is wonderfully addicting and fun!

I am playing in 
The Male Room Challenge were they are celebrating their 8th birthday! Congratulations!

~~~
During an earlier Zoom session we had a play with embossing pastes and I finally used a NBUS product called "Stone Effect Concrete" (which has been in residence for ages) to make the next two uber CAS cards. The texture is amazing and the paste is literally hard as concrete once dry so I think it might even make it through the mail with a liner. If not, contrary to my first paragraph, the recipients are going to be unhappy to have crushed concrete in their laps!

Twofer 
The seahorse stencil I used is a Dreamweaver Stencil from Stampendous. The bubble/dot/circle stencil I used is unmarked and the sediment is from SSS. Hammy added a black marker to the seahorse eye which really brought him to life. The seahorse, not Hammy. Hammy is already full of spunkilicious life.

Challenges

Threefer
The snowflakes stencil is from Memory Box and the sediment is from Creative Expression. You can faintly see that Hammy added tiny drops of snow with his winker here and there on the snowflake panel.

I'm playing in 
AAA Cards (one inch strip and colored card), Little Red Wagon (stencil), and the Rudolph Days (anything goes Christmas).
~~~

You may not get this until Friday, but as I write this, it is Thursday, National Dog Day, so I thought I should send you off with a photo of sweet baby Nellie sound asleep in her doggie divan in the Playhouse. Enjoy!
And enjoy your day! No, seriously, enjoy, but keep safe! LITS!*

As always, thank you for coming by to visit the Playhouse and special thanks to you if you take the time to join as a follower! Please let me know you came by so I can be sure and return the flavor!

*Life is too short!

To open the pop-up comment box that let's you jump to the end w/o scrollingClick CTL + Home. Click the Home tab under my blog banner which resets the post. Click Page Down to reach the end of the post. Click Comments and a pop-up box opens. Click "Jump to Comment Form" and wallah, no more car pool tunnel! Mwah! (p.s. If you ask me a question in your comment, please remember to leave me your email address so I can respond. Thank you!)