Hello Stamplings!
I hope you are doing well and enjoying the last few days of spring! (Although for some of us, the furnace blast of red hot temperatures would have you believing it is the middle of summer!😝)
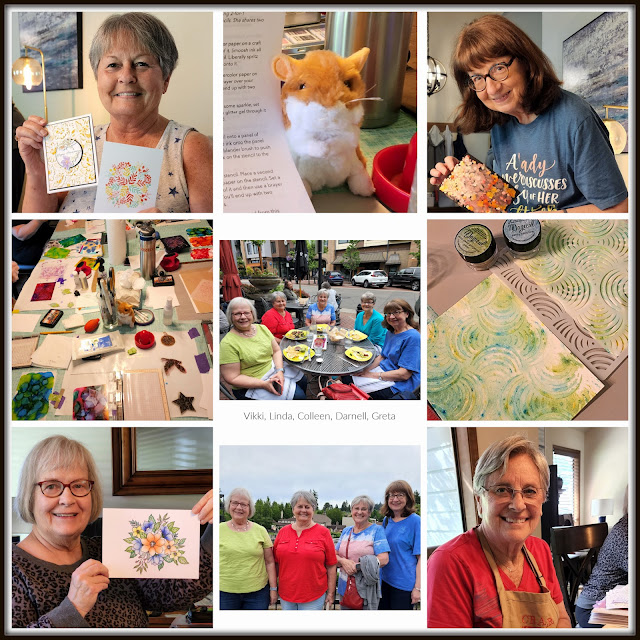
Speaking of blast, I'm just back from a fun crafty retreat with some friends last week. It's my first trip anywhere since 2019 and it felt wonderful to get away! It was also exciting to try out different techniques ~ always more delightful with a group of friends!
Onefer
One of the techniques we tried was from a video I stumbled across while on You Tube. It was a Marion Emberson Mini-Masterclass video showing the embossed pouncing technique. It was a hoot watching her experiment and I had to give it a try. Some of you may have already "been there, done that," but it was new to me.
I have to say, it took a bit of trial and error, but I didn't really have any failures because all the results were cool in their own way. I did find that some of the brands of e/p (embossing powder) worked better than others. Also, as Marion says, make sure you keep the heat gun moving so it doesn't overheat!
If you place your piles of e/p between two sheets of parchment, you get "skins" that you can attach to a card front. Or you can put the piles of e/p directly on a chipboard image, cover it with parchment, and then pounce it with the heat gun. I liked the chipboard way the best. But either way, when you pull and lift the parchment away, you get that cool "flame" effect.
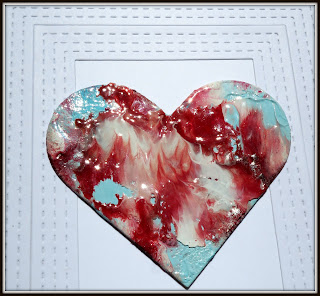
For this card I did both. First I made a skin and set it aside. Then I piled and pounced the same colors of e/p onto a chipboard heart and that looked great. And then, just for the heckofit, I attached the skin over the top of the heart! Here's a closeup:
The skins are pretty fragile and can be 'holey' depending on how much powder you lay down, but it does adhere well to a card front if you put enough pinpoints of glue on the back. The e/p I used was WOW and the stitched frame is from Reverse Confetti.
So then what happened was, ala Marion, I thought the mess that was left behind (after I removed the heart from the piece of cardstock) would also make a ... well, what would say? Artsy card? The love die is from Winnie & Walter sprinkled with e/p to match and heat-embossed. It's very glossy and schparkly in real life.
And here are a few more below. For the first one, I used a NBUS flower die from my friend Bozena which I cut from heavy cardboard. I haven't made the results in the middle into cards yet.
Oregon Retreat 2022More technique playtime results to follow.
Thank you, my friends, for a fantastic time in your beautiful state!
~~~
Enjoy your day! No, seriously, enjoy! LITS!*
As always, thank you for coming by to visit the Playhouse! Please let me know you came by!
*Life is too short!
To open the pop-up comment box that let's you jump to the end w/o scrolling: Click CTL + Home. Click the Home tab under my blog banner which resets the post. Click Page Down to reach the end of the post. Click Comments and a pop-up box opens. Click "Jump to Comment Form" and wallah, no more car pool tunnel! Mwah! (p.s. If you ask me a question in your comment, please remember to leave me your email address so I can respond. Thank you!)

.jpg)


.jpg)


